
Adobe Express for creative projects
I think it’s generally understood around here that I’m an app and technology junkie. I especially love the combination of tech + creativity and Adobe Express is a great way to enjoy those two interests together. I’ve honestly been meaning to try Adobe Express for ages and finally got around to it this week. It’s so easy to use and I can see many possibilities for future projects.
I like to get right to the point on the important details. How much does Adobe Express cost? The starter plan is free both on the website and in the iOS app. There are several options for paid plans, and it can also be bundled with your other Adobe Creative Cloud apps for an even better deal.
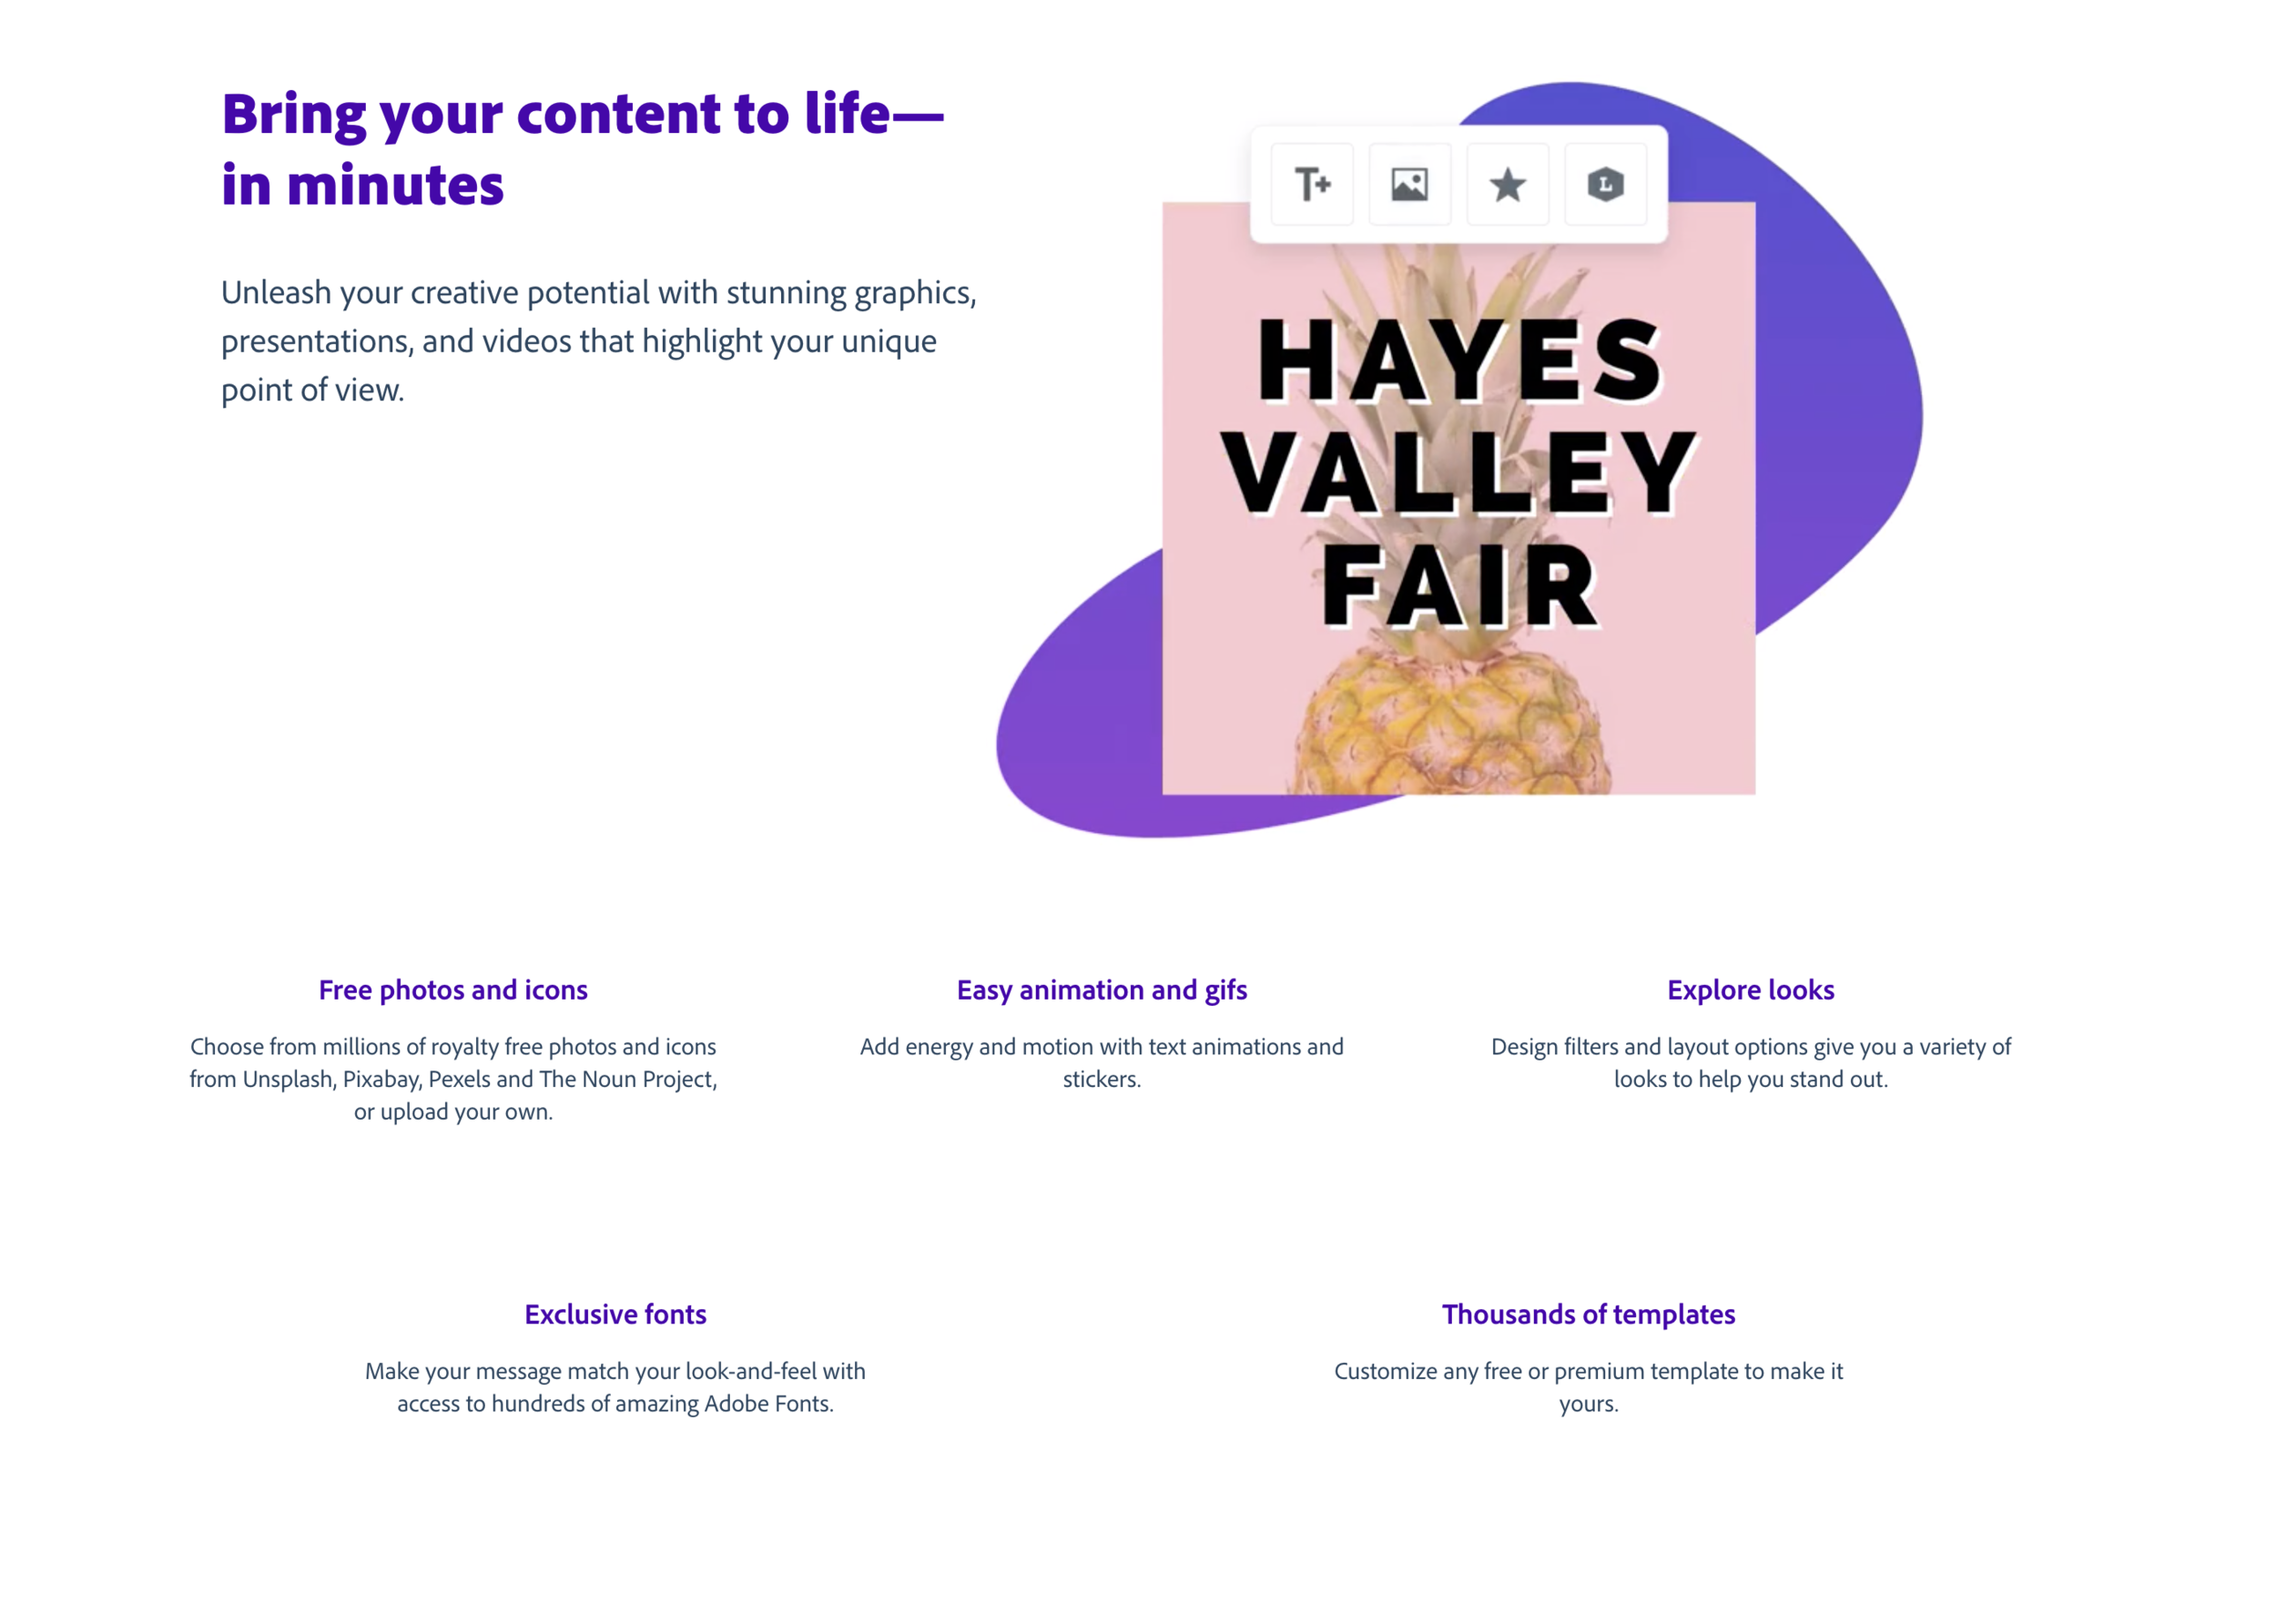
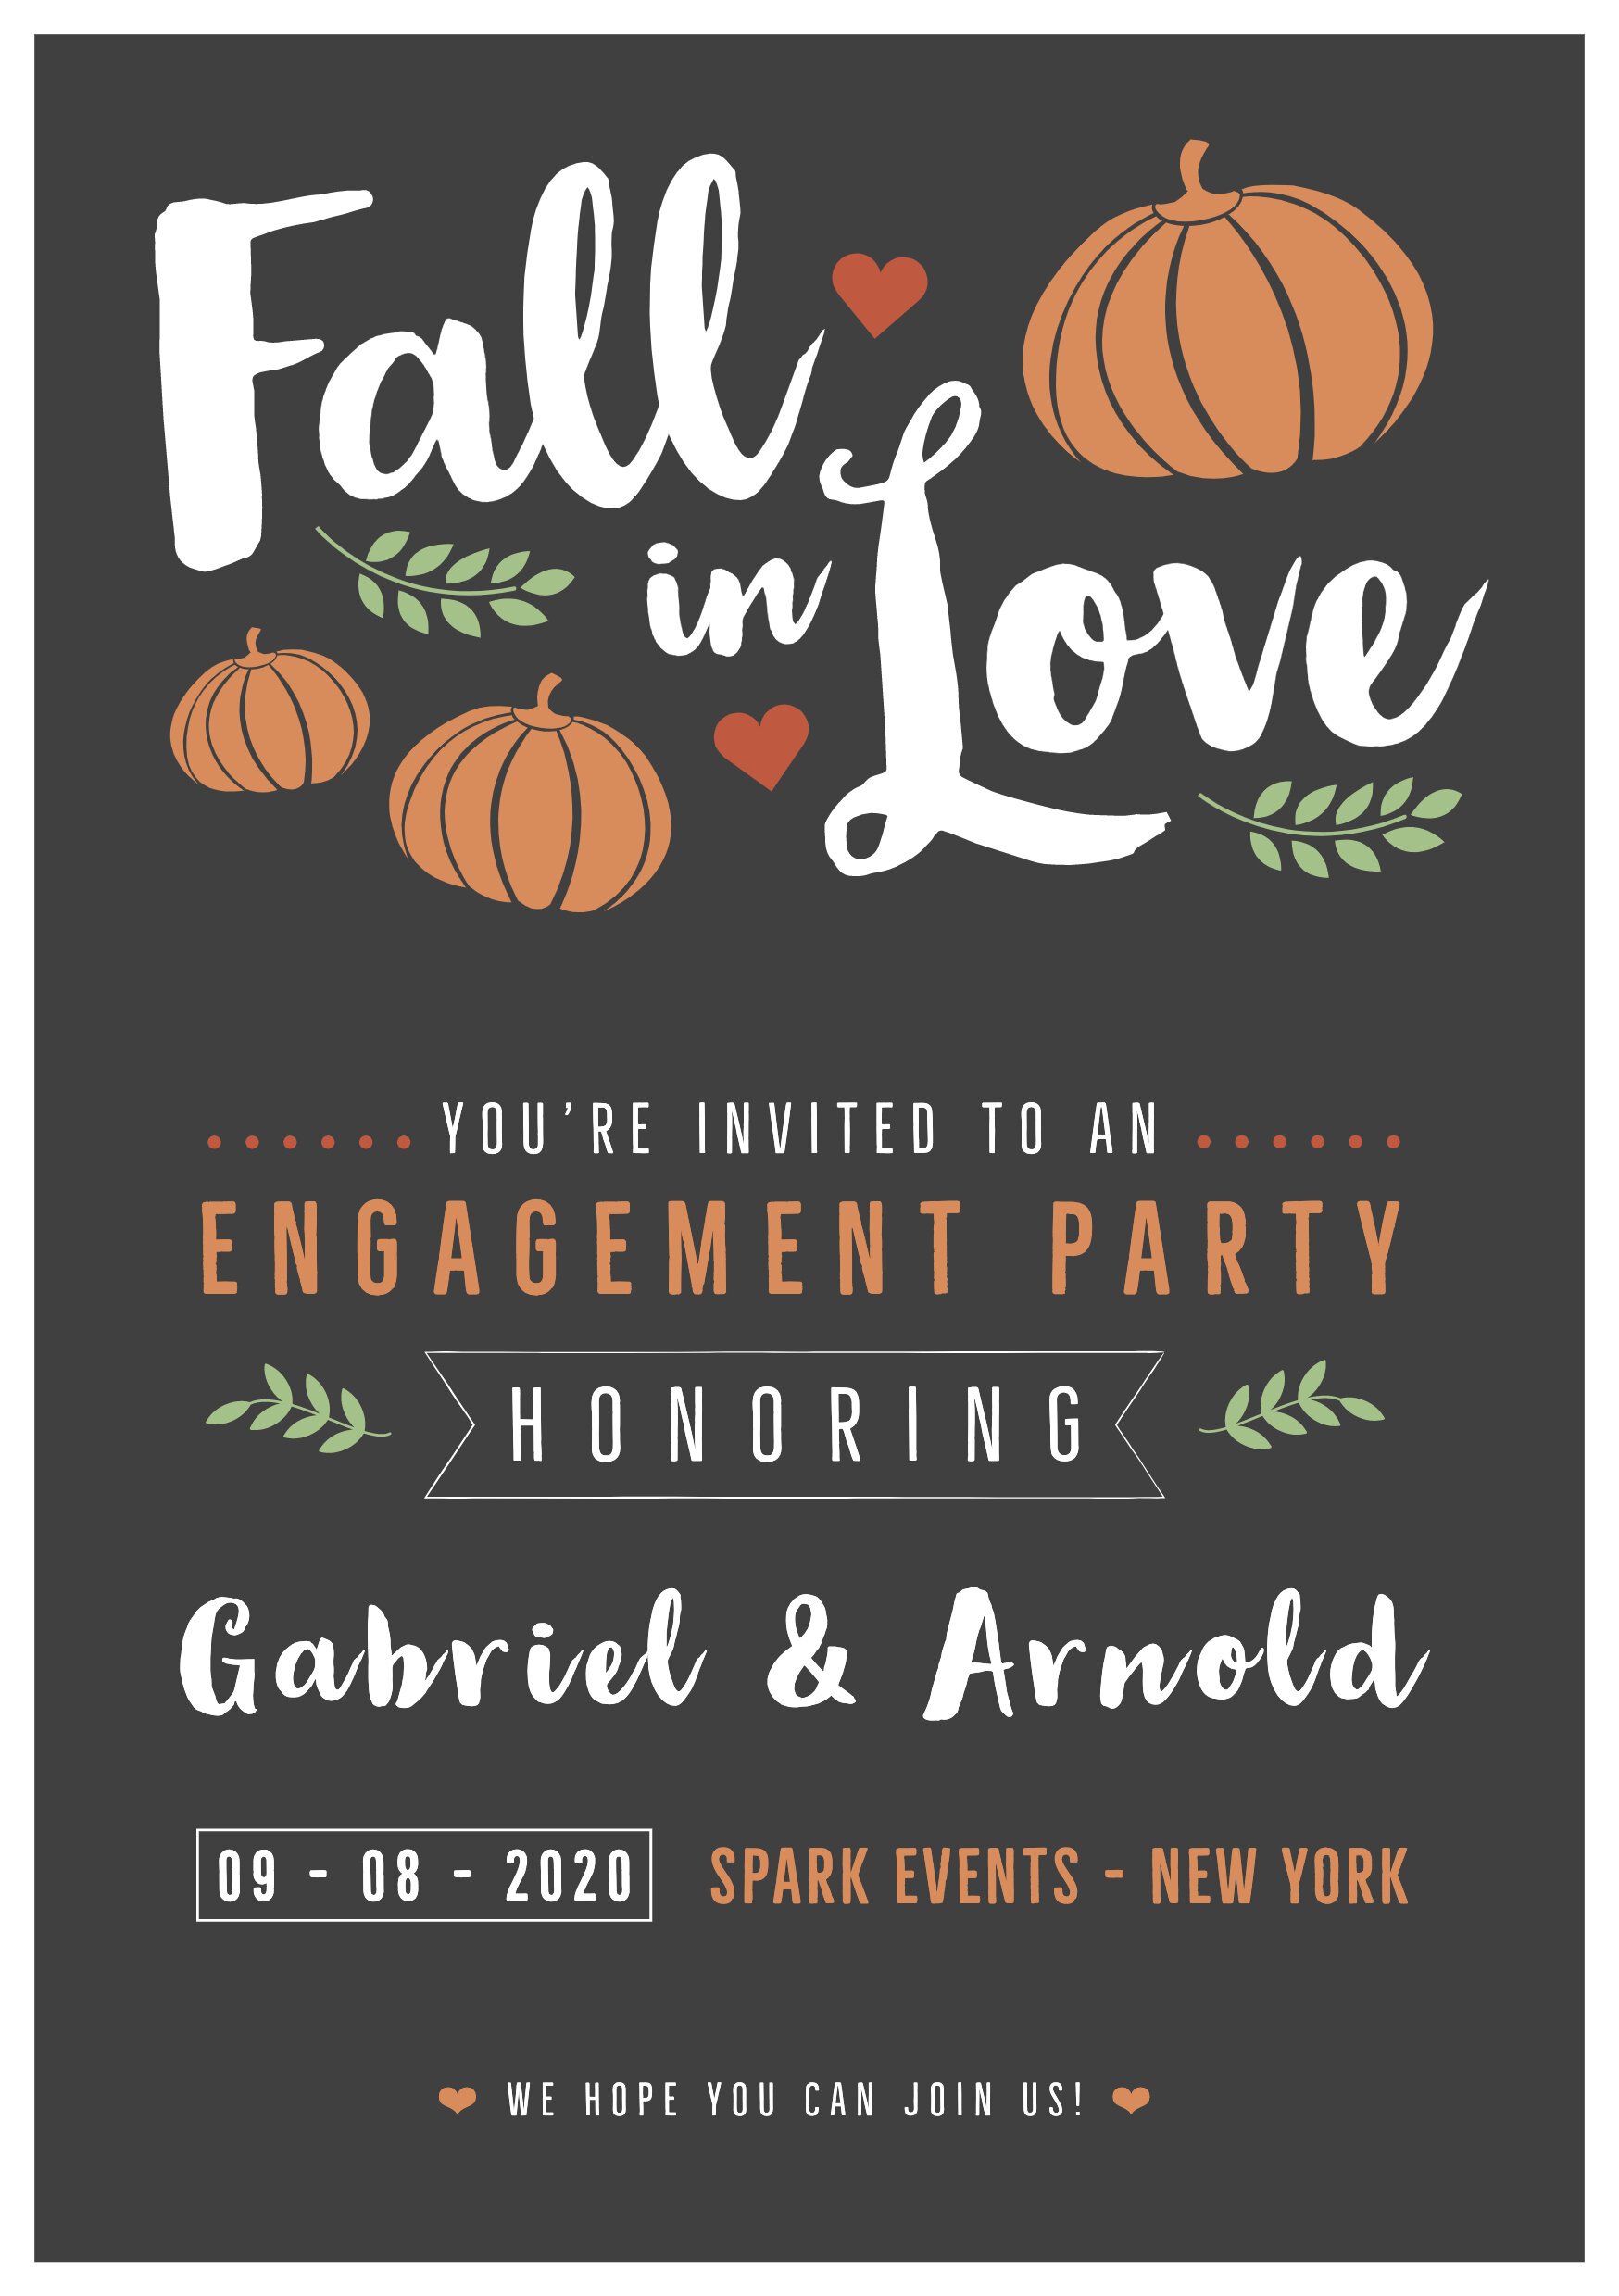
So what can you use Adobe Express for? It’s absolutely fabulous for invitations, announcements, and graphics. I love all of the wedding invitation templates and found that I could use several of them for other uses as well. You can start by browsing the pre-made templates and picking one as your starting point.

Then you can change the text as desired. You can also play around with colors and fonts to customize the design for your own style.

Sometimes you might only want to change the names and personal details.
Other times, you might want to start from scratch with your own creation. You can choose your own size. They have standard shapes and sizes all ready for you depending on how you want to use them.

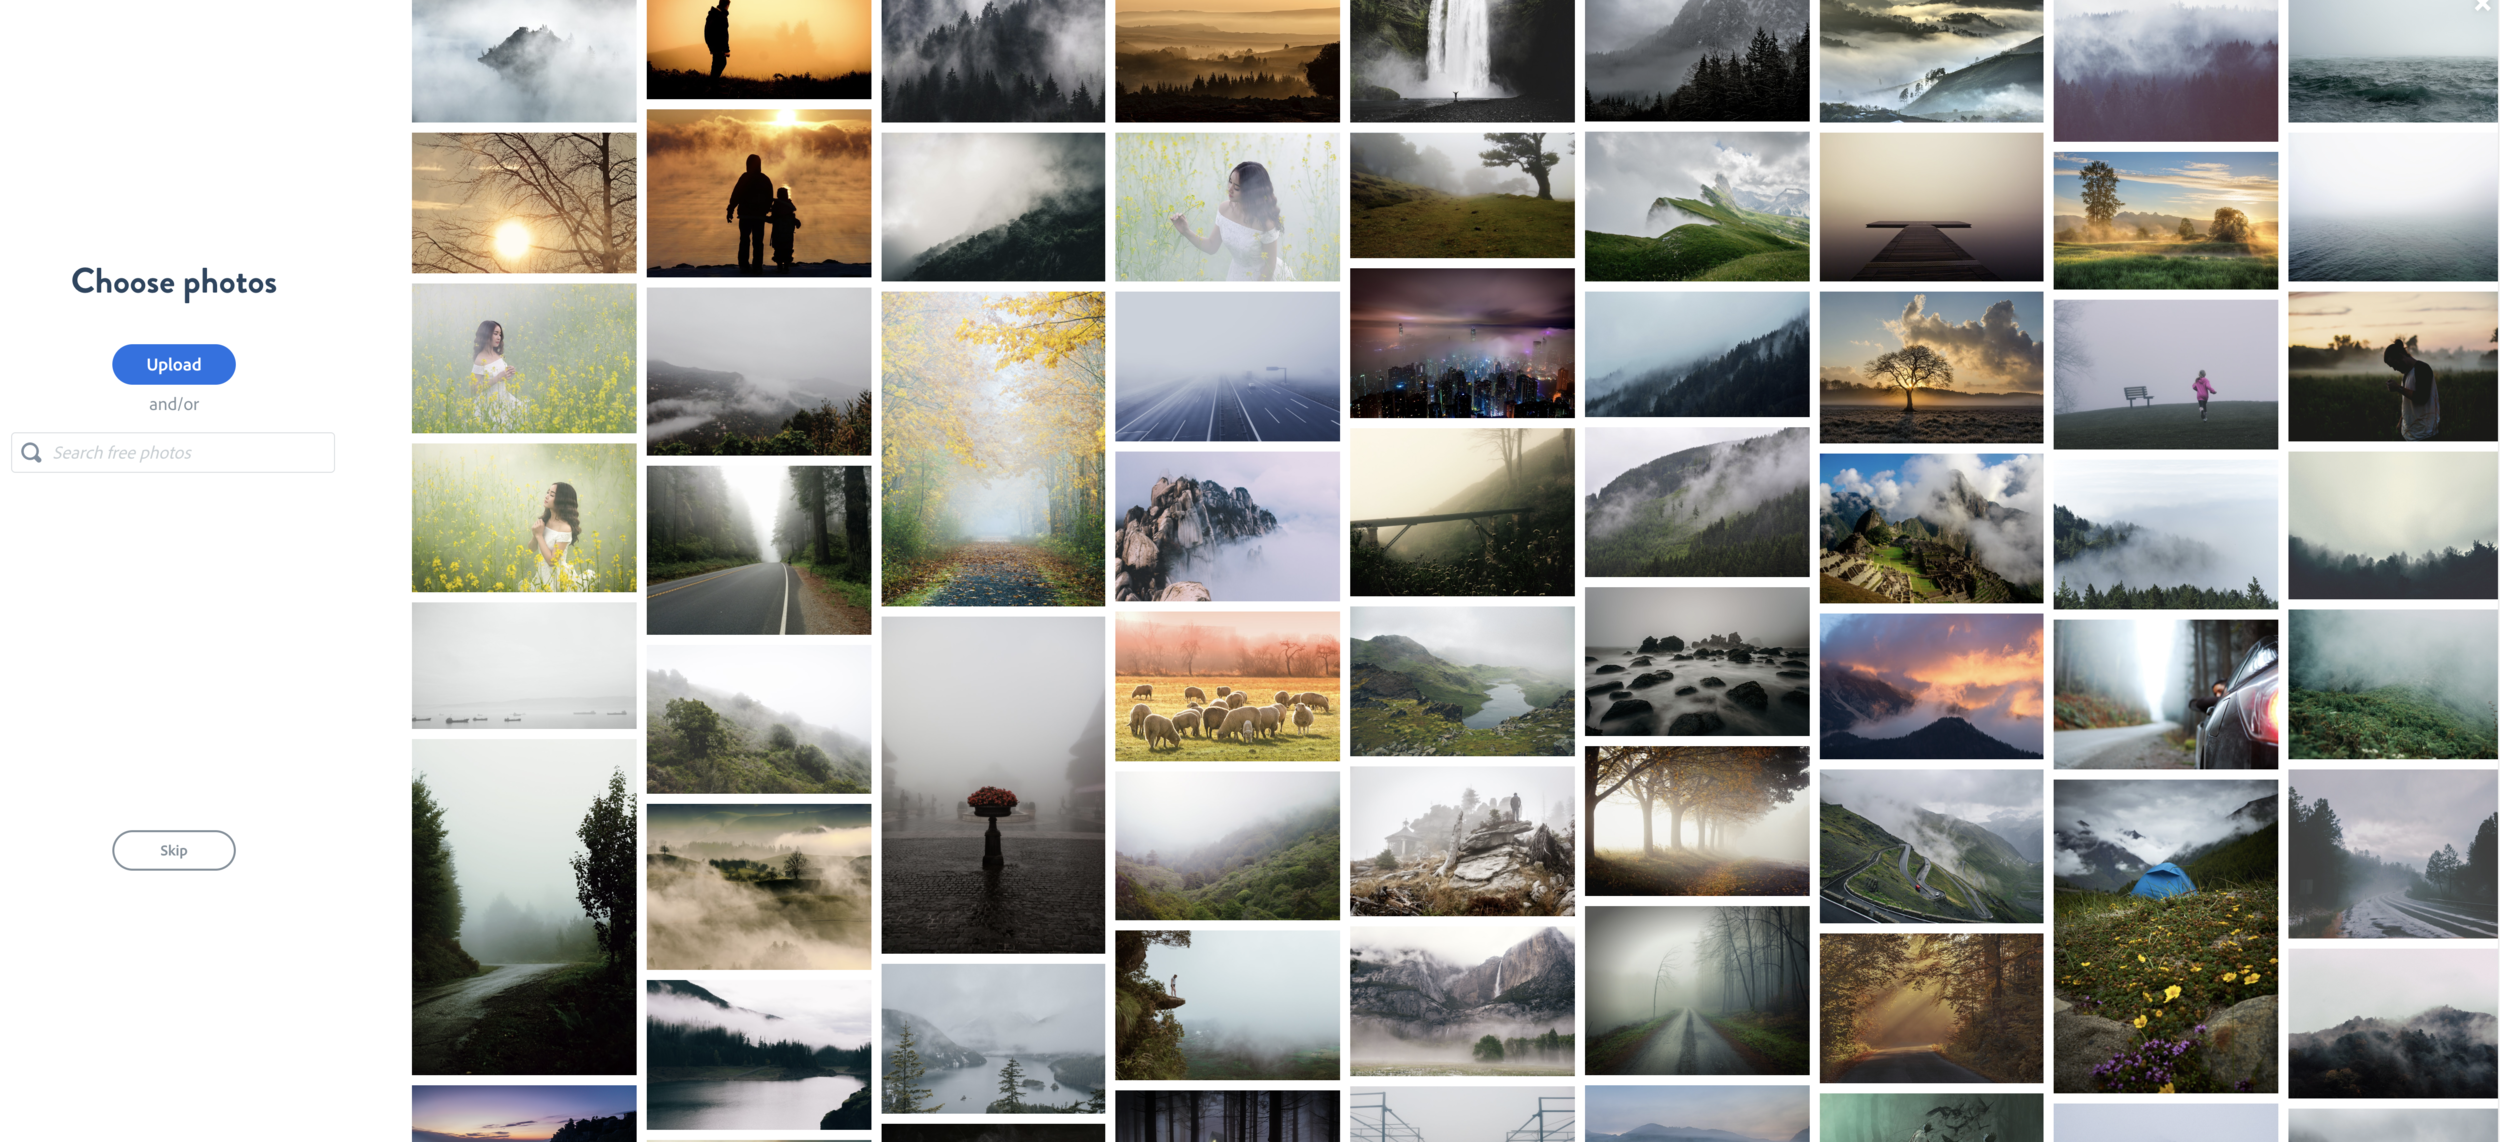
Once you choose the size, you can pick from tons of free photos to use in your creation, or you can upload your own photos.
I found a fun book image and used one of the pre-made templates to make it into a quick image that would work well for an engagement announcement or even an image for a scrapbook page or blog post.

You can search topics or uses for the images you want to create. I chose “travel” for my search here and it showed me lots of great possibilities.

I selected the image that said “travel blog” but changed the text to my own title of a study abroad trip I went on in 1989. I could easily use this on a pocket scrapbook page or as an embellishment for any number of memory keeping projects.

I decided to play around with the different design styles offered on the bottom of the screen and within about 60 seconds, I had this new design as well. I love how easy that was!

Of course, since I’m a scrapbooker at heart, I had to see how this app performed with creating photo pages. I chose my own custom size of 3600 px x 3600 px which is ideal for a 12x12 scrapbook or photobook page.

Then I selected photos from my camera roll on my phone and played around with the layout. You can choose different configurations and even adjust the outer and inner borders. There are lots of color palettes available and you can even create your own with easy to use color sliders.

I decided to go with a simple grid with a side title. I love the look of it!

I’m really excited to have this new tool in my creative arsenal. I used both the website and the app to work on all the images for this post and I liked both experiences equally well. Adobe understands graphic design and is wonderful about providing the right tools and workspace to make the process easy and enjoyable. Hooray for Adobe Express!